Taking Pyrsia to the community
Since the time we envisioned Pyrsia, we aimed to make it a community project. It was setup in such a way that it is open source, open...
Concurrency in Rust
Dec 15, 2022Building Open Source with Github
Aug 05, 2022Modern Concurrency with Ruby
When working on building a log processing engine based on Fluentd we were facing serious stability issues. The daemon that processed ...
Read MoreConcurrency with Golang
At Pivotal when we were building Pivotal Kubernetes Service(PKS) the most critical path of the process was the Release Engineering te...
Read MoreAll Stories
Taking Pyrsia to the community
Since the time we envisioned Pyrsia, we aimed to make it a community project. It was setup in such a way that it is open source, open governance and open process from the start. With ...
Jan 25, 2023Updating github tokens - a not so secret document about secrets in github
As it happens I am managing and organization on github which has been both easy and sometimes tricky. Many a times it has been tricky due to the way github decided to manage projects ...
Jan 12, 2023
Concurrency in Rust
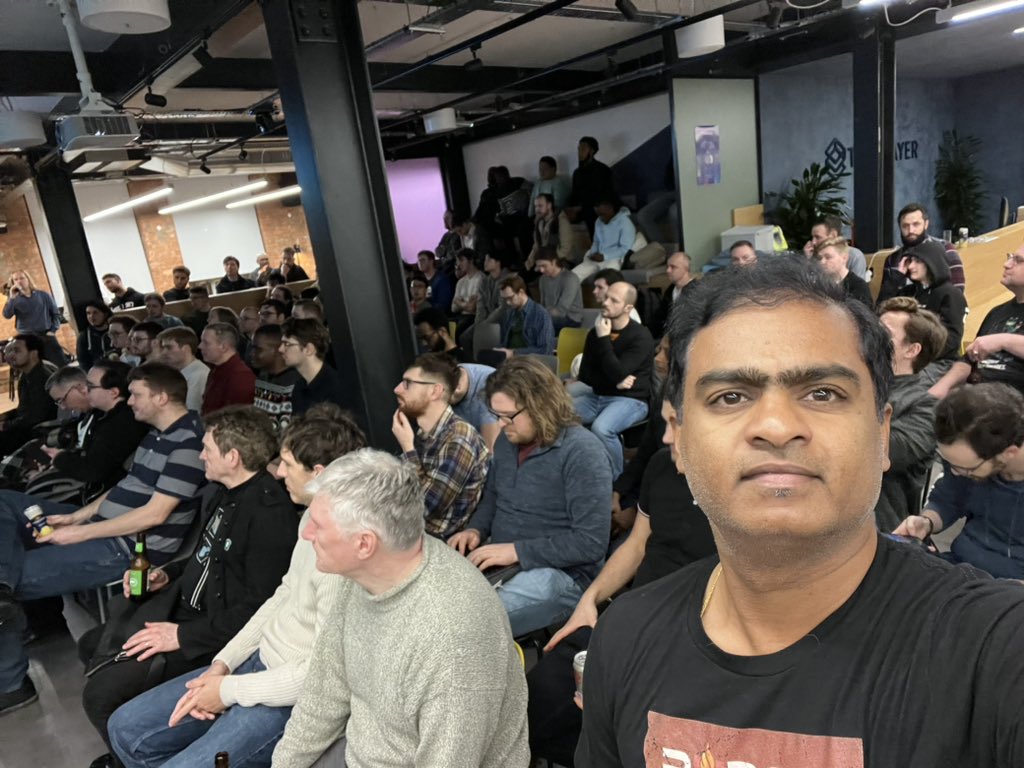
Talk at RustLondon
Dec 15, 2022
Building Open Source with Github
Aug 05, 2022
Why Pyrsia?
Apr 10, 2022
Modern Concurrency with Ruby
When working on building a log processing engine based on Fluentd we were facing serious stability issues. The daemon that processed the log used to run out of memory, it would crash ...
Jul 16, 2021
Concurrency with Golang
At Pivotal when we were building Pivotal Kubernetes Service(PKS) the most critical path of the process was the Release Engineering team. This team was tasked with making sure all the ...
Sep 01, 2019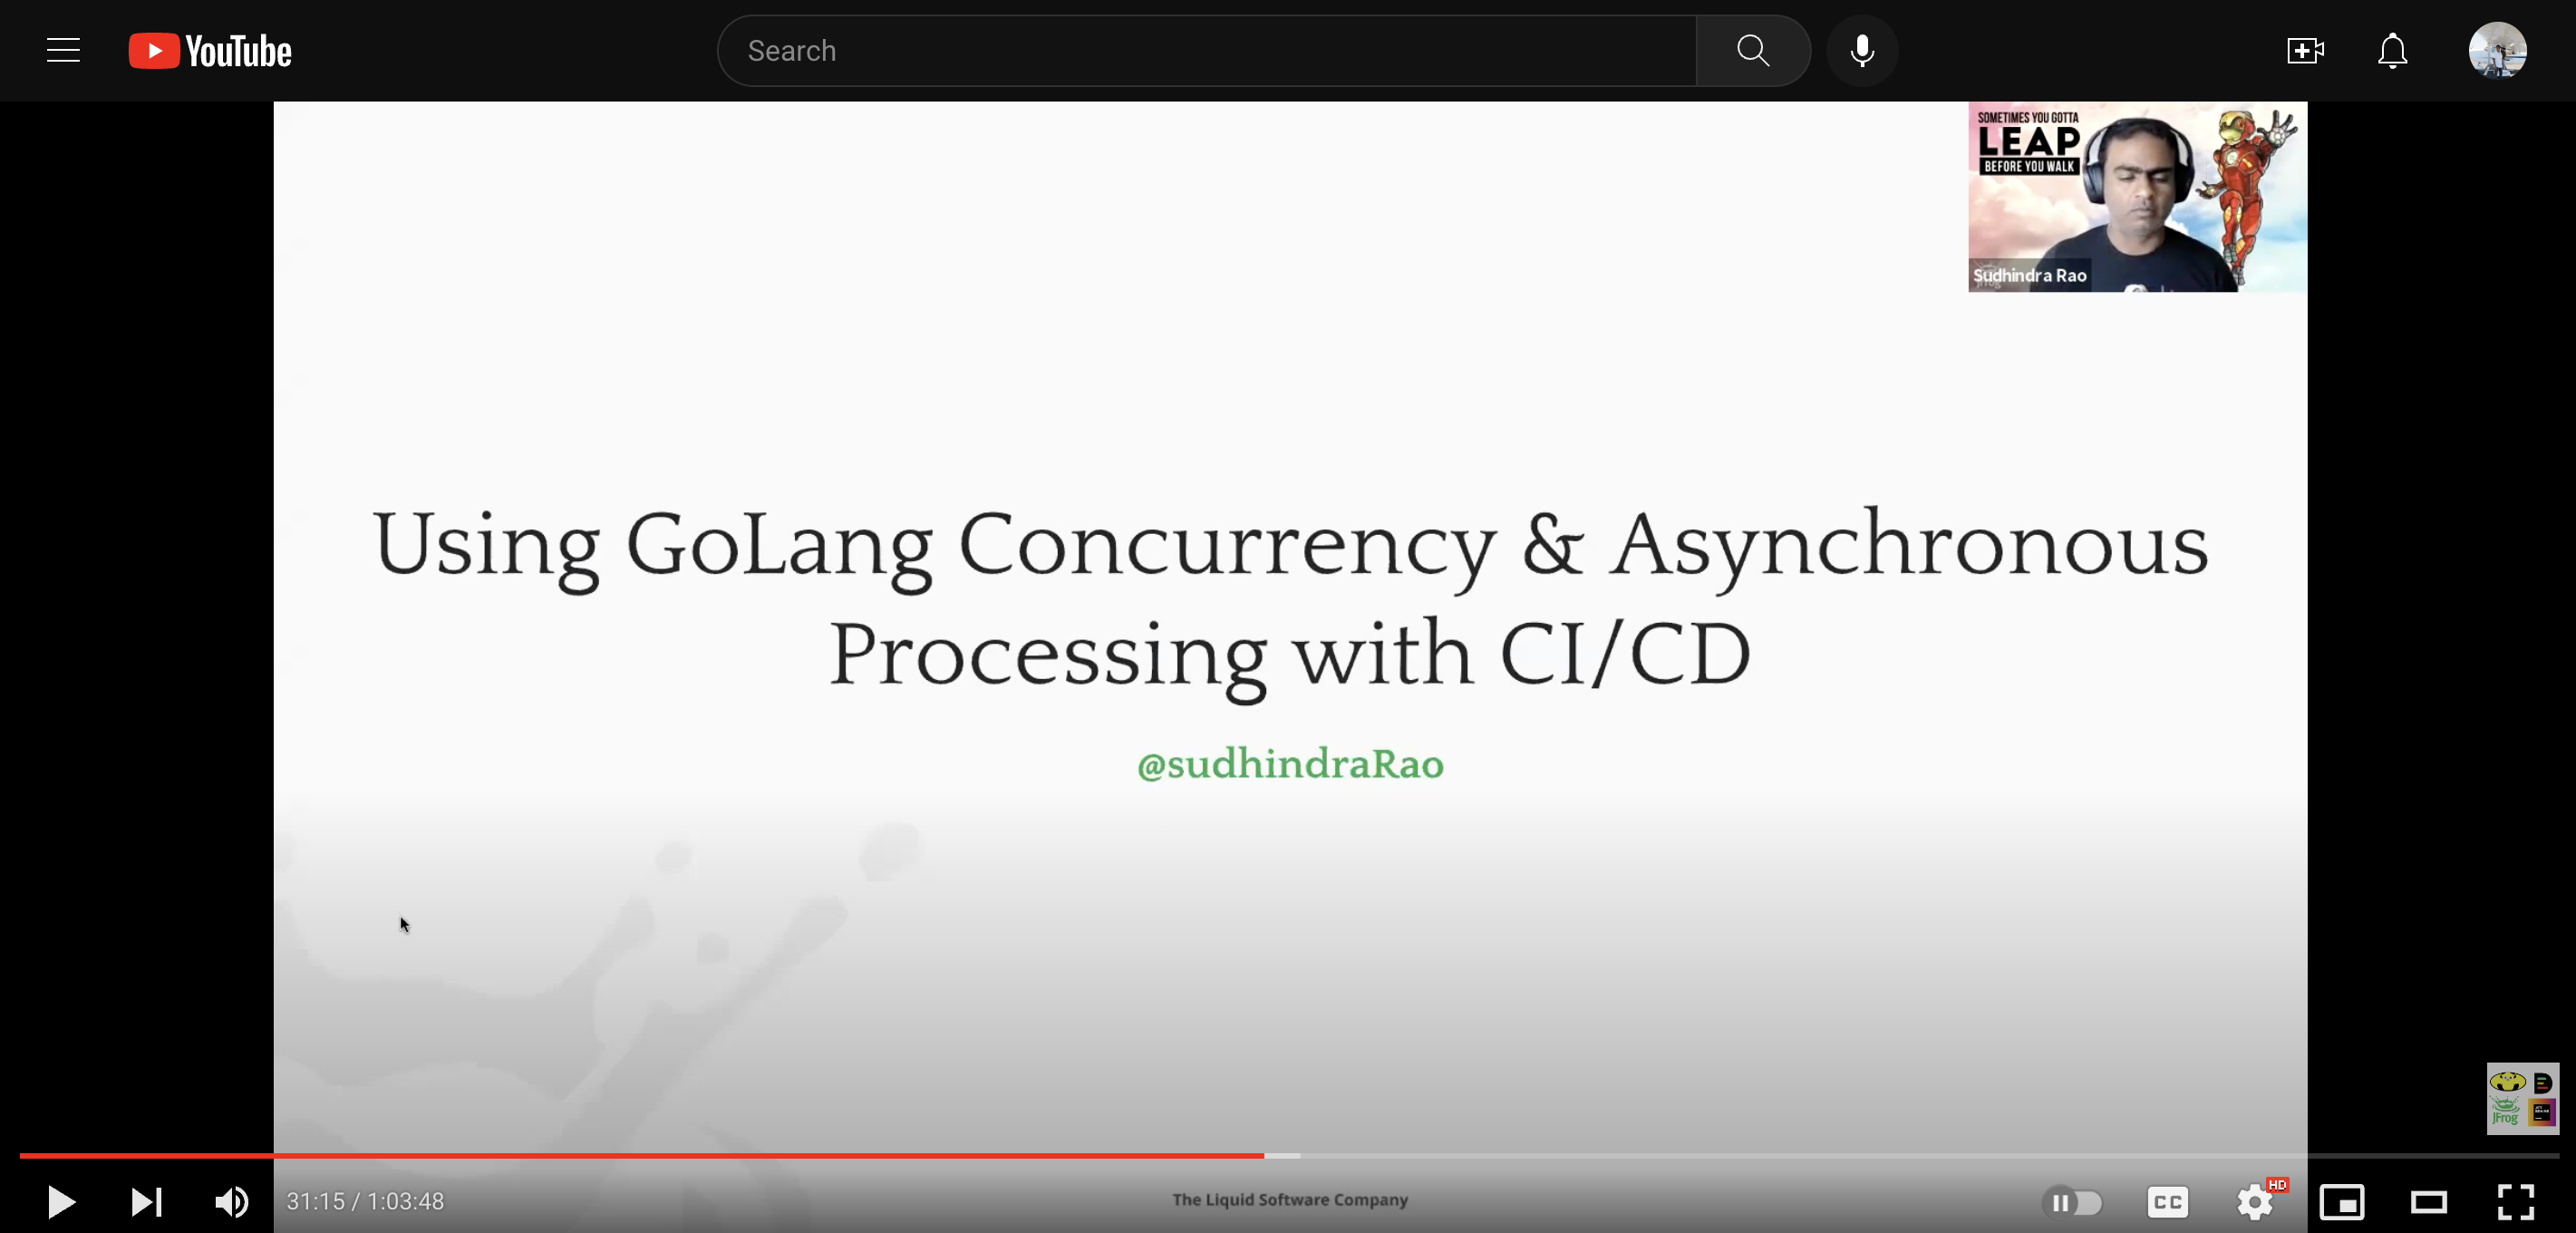
Setup your own intruder detection system .. in under 10 minutes
I was looking to build a security system that captures pictures and alerts me when an intruder walks in to my home or is ringing the door bell. My constraints being: Off the shelf wi...
Apr 17, 2018
DevNetCreate 2018 - a cute little event - a big surprise
I made it to the DevNetCreate 2018 event this week and to my surprise it was super fun. I have been attending a fewof these in the bay area to get in touch with the developer communit...
Apr 11, 2018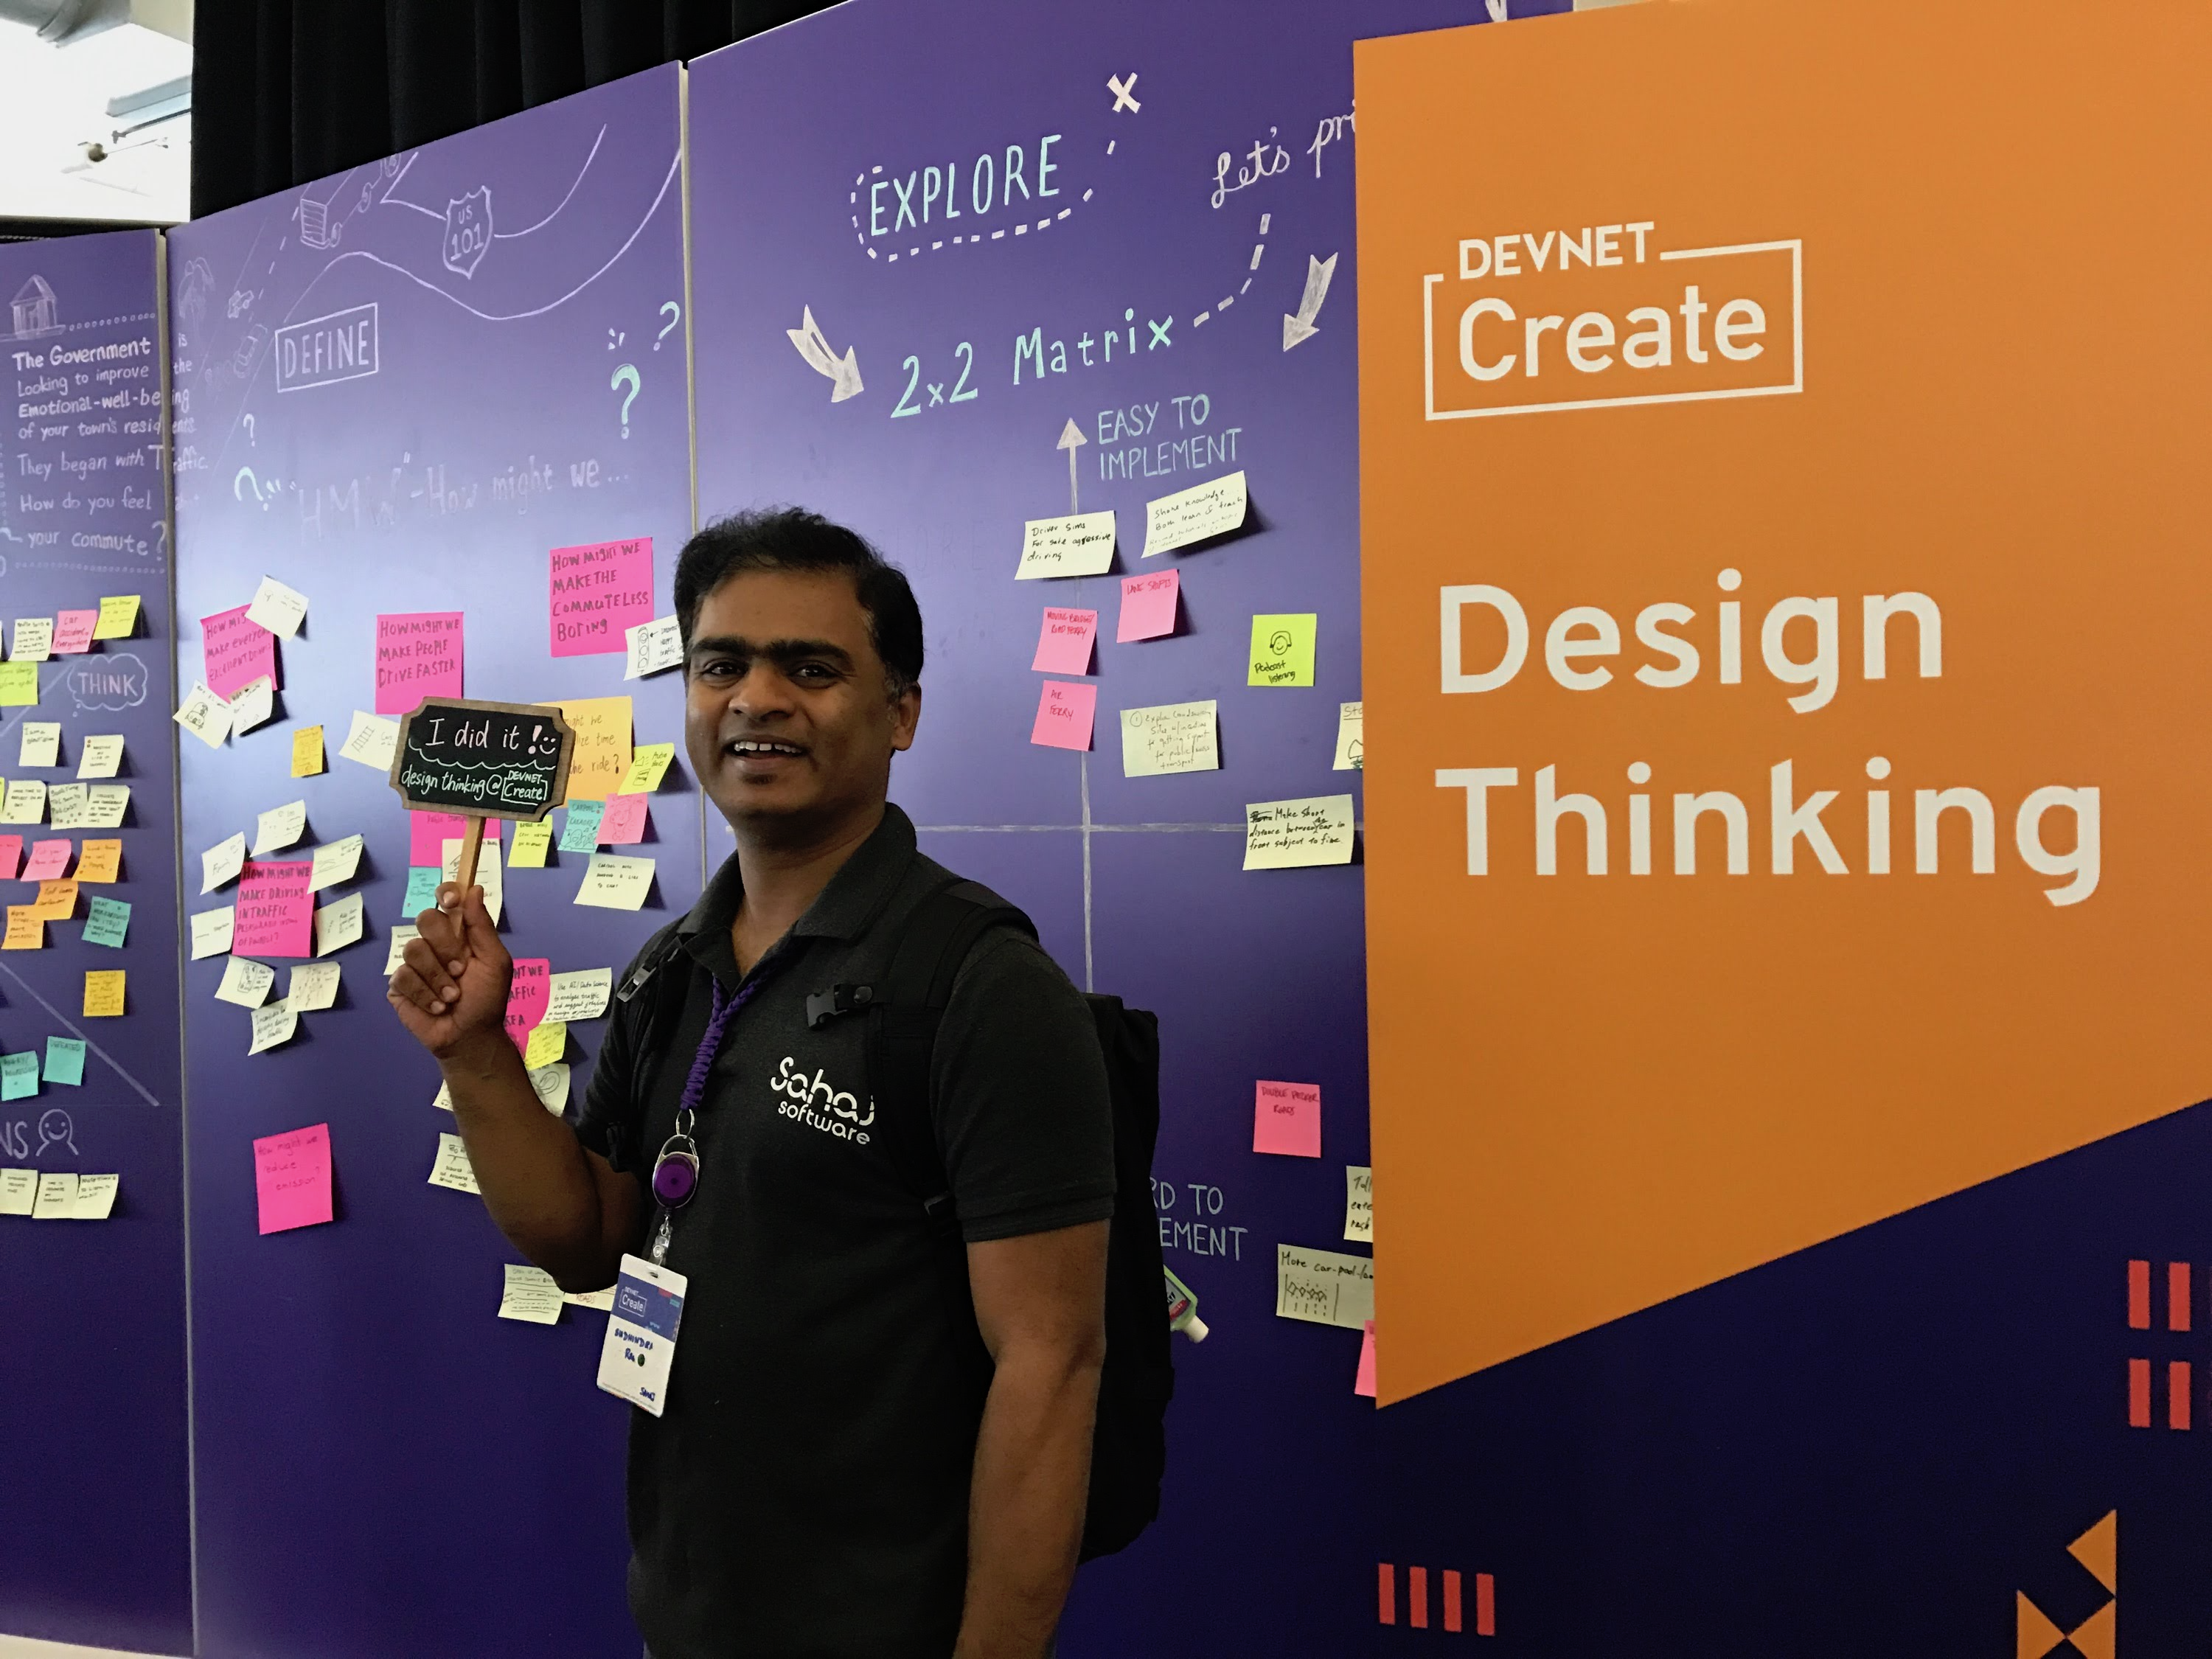
2 challenges, one healthcare app, continuously delivered (Part II)
(This post is the second and final part of a two-part blog and focuses on continuous delivery. Previous postGiven that the healthcare environment has such strict regulatory requiremen...
Feb 16, 2018Featured
-
Updating github tokens - a not so secret document about secrets in github
-
Setup your own intruder detection system .. in under 10 minutes
-
2 challenges, one healthcare app, continuously delivered (Part I)
-
EPIC integration
-
Isn't 40 mins too long for a build?
-
Mingle Wall Reader - Sync your physical card wall with Mingle
-
EbDeployer
-
Ruby Kaigi 2010 - Rocking the Enterprise with Ruby
-
CruiseControl Monitors - Gotchas and repost